
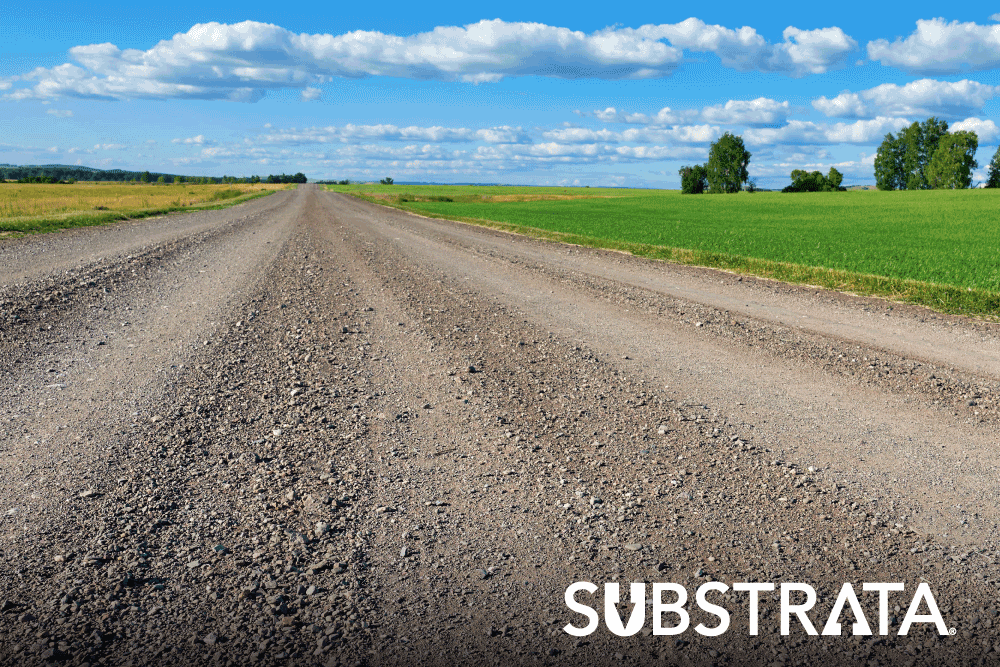
Dust plagues unpaved roads, reducing visibility, safety, and air quality. It can even kill plants and scratch cars and buildings. It’s not good for the road, either. The more dust cars kick up, the more the road degenerates. That leaves counties and companies paying extra maintenance costs to repair them and to try to control dust.
Many counties and companies turn to calcium chloride, a salt compound that's popular for dust control. We’ll explore what calcium chloride is, how people use it to control dust, and its pros and cons. Let’s begin!
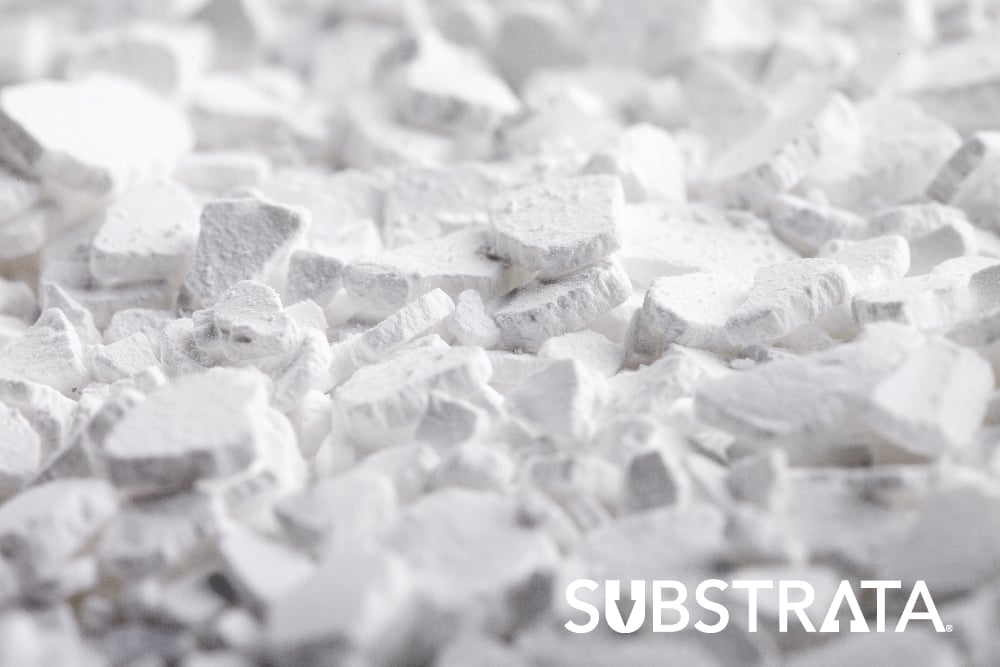
Simply put, calcium chloride is a type of salt made of one part calcium and two parts chloride. Its molecular formula is CaCl2, but people may also call it calcium dichloride since it contains two chloride ions.
Calcium chloride is hygroscopic, which means it can absorb moisture from its surroundings. (We’ll talk more about how that helps it suppress dust in a minute.)
It’s been a common dust control product for decades. You can obtain solid calcium chloride flakes, pellets, or powders. These are often anhydrous, meaning they don't contain any water. You can also buy pre-mixed, liquid calcium chloride brines.

Governments and heavy industries use calcium chloride to control dust on unpaved public and commercial access roads. And with its soil stabilization properties, it helps protect roads from erosion, too.
But you might be surprised to learn about some of calcium chloride’s uses in other industries. Take a look:
That’s all pretty impressive. But now, back to dust control!
Calcium chloride is a desiccant, which is just a fancy name for a drying agent. It works by absorbing moisture from its environment—whether that’s the air, a liquid spill, or another substance you mix it with.
So, let’s say you apply calcium chloride to a road. It will draw moisture from the air onto the road, dampening the soil particles, and the moisture will weigh the soil down so it’s less likely to fly into the atmosphere as dust. As a bonus, the calcium chloride will also form a crust over the road’s surface that stabilizes the soil and helps keep it from eroding.
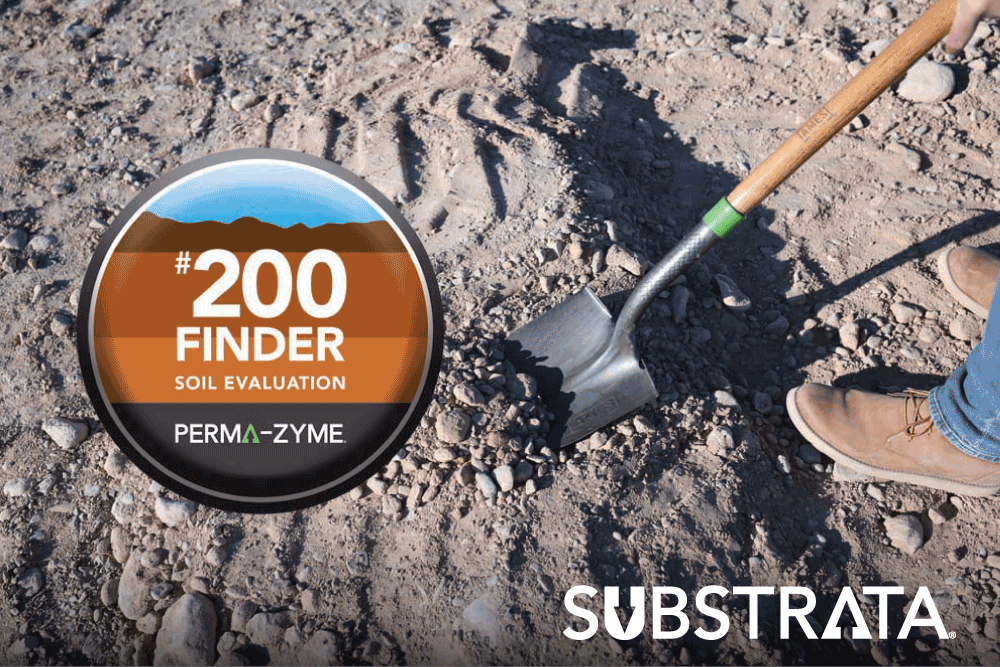
It’s ideal to apply calcium chloride when humidity is high, so there’s more moisture in the air for it to work with you. But before you begin the application, it’s important to water the road first. Wetting the road helps the calcium chloride go deeper into the soil so that it will work better.
Once the road reaches its optimum moisture content, go over it with a motor grader to remove washboarding, potholes, and other damage. Then, shape the road so it will have good drainage by including ditches, shoulders, and a crown in the middle. Be sure to build turns up on the outside, too.
After you shape the road, mix calcium chloride and water into a liquid solution, then apply it with a water truck.

The short answer is, it depends. As you saw earlier, calcium chloride has some uses that help people stay safe, get healthy, and have fun. But too much calcium chloride can be dangerous.
When it comes to dust control, calcium chloride has several benefits:
Just like too much rain, too much alcohol, or too much anything, there comes a tipping point where calcium chloride does more harm than good. Some cons of calcium chloride are:
While calcium chloride can control dust, the negatives outweigh the positives. So, if you’re looking for a dust control solution, it’s time to consider alternatives to chlorides that are safer for your crews, your community, and the environment. We recommend Perma-Zyme. Perma-Zyme’s unique enzyme formula is 100% natural and non-toxic. One application helps soil resist water and erosion for years, so roads last longer with less maintenance!


No Comments Yet
Let us know what you think