
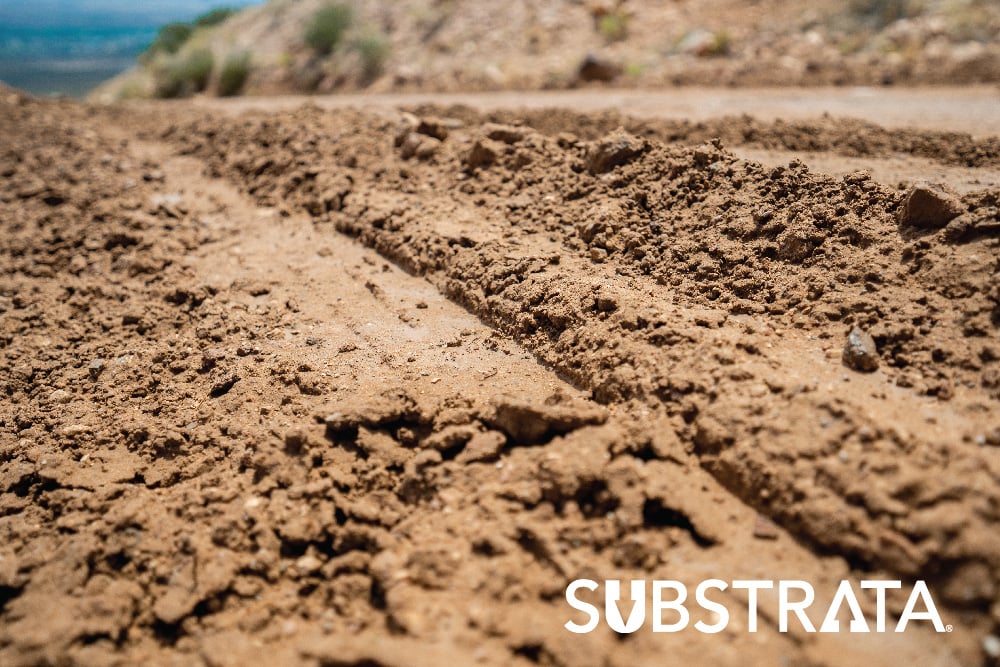
Compaction is the most essential part of construction. It ensures that soil particles press close enough together to form a strong, load-bearing surface that lasts long-term. For soil to compact well, it must be thoroughly moist, but not so wet that it turns into mud. This ideal state is called the optimum moisture content.
Let’s briefly explore why optimum moisture content matters for compaction. Then, we’ll teach you how to check your soil’s moisture in the lab and in the field so you can get great results on your project.
Compaction increases soil’s load-bearing capacity by improving its density—how close or far apart soil particles are. Low-density soil is loose and erodes easily; this makes it unstable for building. High-density soil is packed tightly together, with few air pockets. It’s more stable, with greater shear strength and load-bearing capacity. It’s also less water-permeable, promoting drainage and reducing surface problems like potholes.
Soil must have the right density to support infrastructure, but that rarely happens naturally. You must compact the soil to increase its density. And to compact the soil, you need water. Water helps the particles move closer to each other to achieve the right density. The key is to have the proper amount of water: too much or too little can make compaction impossible.
Imagine you’re making bread. You start with flour, but it won’t hold a shape because it's dry and powdery. You can’t knead it or sit anything on it because it won’t support weight. So, you mix wet ingredients like water, oil, and eggs with the flour. Now, you have dough that you can shape. But be careful—too much water makes a gooey mess!
Soil works the same way. Dry, dusty particles won't stick together, and neither will mud. You can't compact soil that's too dry or too wet. And if you can't compact it, it won’t support the weight of buildings, vehicles, equipment, or pavement. You must add the right amount of water to reach optimum moisture: the doughy consistency at which the soil particles will stick together during compaction.
To compact soil effectively, you must figure out three things:
Geotechnical engineers determine these three measurements during a proctor test. There are three types of proctor tests: a standard laboratory proctor works for most projects, a modified laboratory proctor works for heavy paving projects, and a one-point proctor lets you double check lab results in the field. Of these, lab proctors give more detailed, accurate data than one-point proctors.
In this blog, we’ll cover the basic steps of a standard lab proctor, also called the ASTM D-698 or AASHTO T-99. (ASTM and AASHTO are American organizations that set engineering standards for soil tests to ensure safety and long-lasting infrastructure.)
Engineers start proctor tests by collecting soil samples from the jobsite, taking them to their lab, and mechanically pulverizing them. Then, they find soil’s wet density.
Wet density measures the combined amount of water and soil in a given sample, as well as how much space the sample occupies. Checking the wet density of soil provides some of the information we’ll need to determine its current moisture content.
All soil naturally contains some moisture due to precipitation, groundwater, and humidity. But, just like most soil doesn’t have the right density for construction, most soil won’t compact well because its natural water content is almost always lower than its optimum water content. Knowing soil’s wet density is an important part of figuring out how to make the soil suitable for compaction.
Geotechnical engineers calculate the wet density of soil using this formula:
Mass ÷ Volume = Wet Density of the Soil
Soil’s wet density varies by type and climate. A higher wet density indicates that the soil naturally retains a good amount of moisture, so it likely contains clay or silt.
These two soil types are essential to construction because they’re the only two soils that can retain enough water to reach optimum moisture and, therefore, allow maximum compaction. They’re also the only soil types that can absorb enough water to become oversaturated, which is why construction projects also require coarse material like sand or gravel to balance them out.
A low wet density indicates that either a) soil is dry due to environmental conditions or b) soil contains mostly sand or gravel that retains little to no water. A sieve analysis and an Atterberg test will tell you more about your soil’s type and water retention (aka plasticity). Even without these tests, engineers can still determine the optimum moisture content and how much additional water you’ll need to achieve it. The next step in this process is calculating the soil’s dry density.
Dry density shows how compact soil is when all the moisture evaporates out of it. To understand why soil’s dry density is essential, think back to what we said earlier: most soil’s natural moisture content is lower than its optimum moisture. So, while soil must reach optimum moisture during construction, it will dry out after that.
Let’s recall our bread example to explain why this matters: When baking, you add wet ingredients to make dough so you can shape it. The oven dries out some of that moisture, but the bread still holds its shape. Likewise, you add water to soil to reach optimum moisture during construction. After you compact it, the soil dries while still holding the shape you gave it. The more compact it is, the better it will hold that shape and the longer your structure will last. Knowing soil’s dry density helps engineers identify the point at which soil will be most compact.
To check the dry density, they bake soil in an oven for hours until it’s completely dry. Then, they use this formula:
Dry Mass ÷ Dry Volume = Dry Density of the Soil
Once engineers know the dry density, they can determine:
As we said, dry density is soil’s natural level of compaction when it contains zero moisture. Maximum dry density is the most compact any dry soil can possibly be, and it typically involves using machinery to reach this level of compaction. Different soils have different dry and maximum dry densities based on traits like particle size and organic content.
Every construction project requires you soil to achieve a certain density so it can support the structure you want to build. Percent compaction tells you how much to compact your soil so it’s dense enough, and it works on a scale from 0-100. At 100% compaction, the soil is at its maximum dry density. Most projects require soil to be 90-95% compact. So, percent compaction is usually very close to soil’s maximum dry density. And of course, your soil must be at optimum moisture to achieve the proper density and create projects that last.

Optimum moisture content varies by soil type, just like density. Once they test for soil’s wet and dry densities, engineers can finally determine its optimum moisture content by following these steps in a standard lab proctor:
The compaction curve’s peak reveals the soil’s maximum dry density and the optimum moisture content at which soil should be able to compact properly.

This is the easy part! Once the proctor test determines soil’s current and optimum moisture content, you can then calculate how much water to add to your soil during construction using this formula:
Soil Natural Weight x (Optimum Moisture Content - Current Moisture Content) = Water Weight to Add
Lab proctors give you accurate data. But in the field, you can’t stop mid-construction to send soil samples to a lab. You must be able to quickly determine soil’s approximate moisture content on your own.
One way to do this is with a one-point proctor test, which geotechnical engineers or field technicians can perform onsite to double check that the soil onsite still matches the lab results. Of course, this requires you to do the standard lab proctor first—and to have the results and some testing equipment handy on construction day.
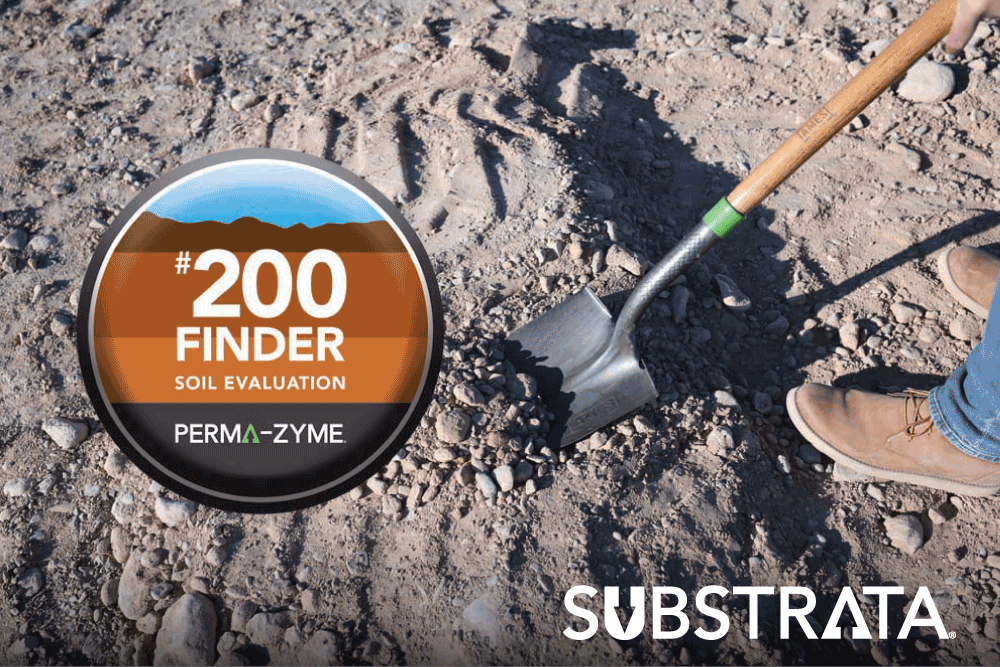
A simpler option is to perform a hand test. Just reach down and grab a handful of soil. Then, try shaping the soil into a ball. You’ll get results instantly.

Shaping a moist sample of soil into a ball is easy when the soil’s at optimum moisture. When performing a hand test, think like Goldilocks: you don’t want soil that’s too wet or too dry. You want soil that’s just right!
Performing hand tests in various locations around the jobsite quickly tells you the soil’s moisture content. Just be sure you get a realistic sample. Sometimes, the soil’s top layer is dry because of the climate or sun, but underneath it’s well-saturated. It’s a good idea to dig into the soil a couple inches to check the moisture at varying levels.
Many projects require you to adjust your soil’s moisture content multiple times during construction—not just at the beginning. That’s because soil conditions are constantly changing due to weather. Plus, soil begins drying out as you work with it.
Overly dry soil leads to poor compaction. The soil is not lubricated enough for the particles to move close together; instead, they create friction and repel each other. That leaves air voids in the soil, so it can’t form the dense surface you need.
Additionally, dry soil makes it difficult to mix in soil stabilizers like Perma-Zyme, which hardens soil to make roads last longer with less maintenance. Water acts as Perma-Zyme's vehicle to move through the soil, so you need plenty of water to spread the product thoroughly and get optimal results.
Thankfully, adjusting dry soil is easy. Simply fill a water truck and evenly spray the dry area. For extra dry soil or far-away water sources, it’s wise to have multiple water trucks onsite. One or two trucks can spray the surface while the other truck refills.
When soil is above optimum moisture, it turns into mud. At this point, water has displaced the soil particles, making them hard or impossible to compact. The particles become like a bunch of inner tubes floating in a pool: they may get close, but they won’t stick together.
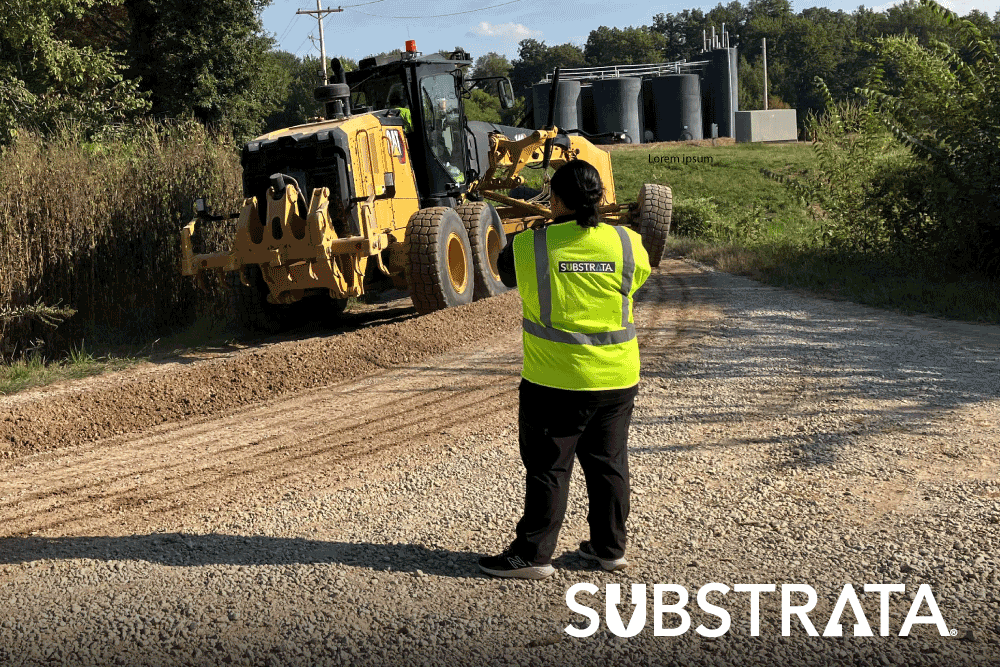
In this case, the soil must dry out before compaction. You can let the soil air dry overnight, or speed things up by using a motor grader to windrow the soil side to side. This exposes it to air and helps it dry faster.
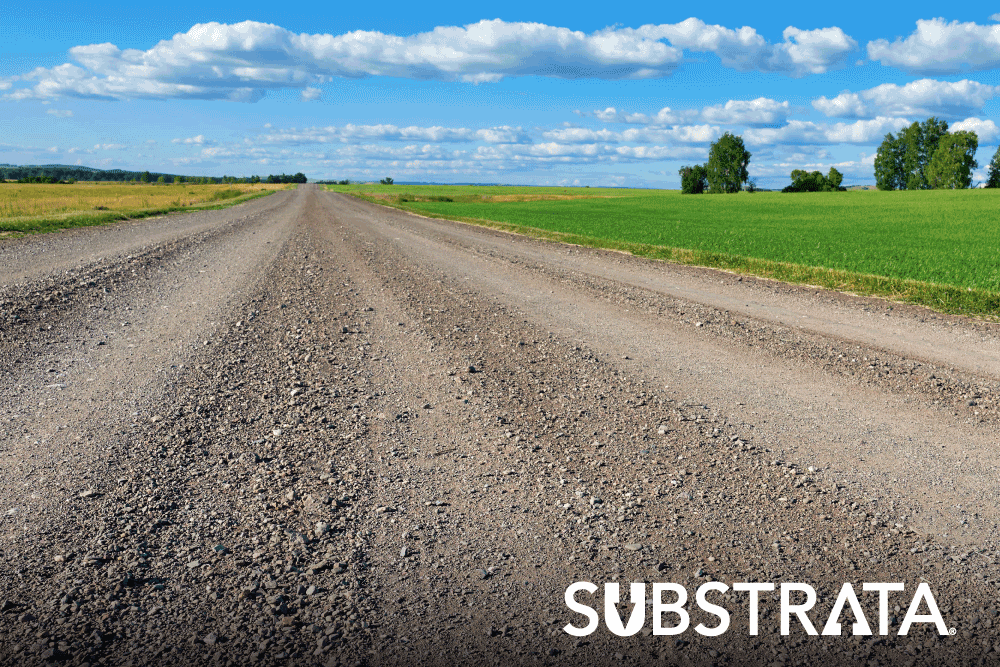
To recap, optimum moisture content is the ideal amount of water soil must contain so it can compact into a strong, load-bearing surface that’ll hold its shape long-term. Optimum moisture is vital to construct long-lasting paved roads, unpaved roads, and other projects.
Geotechnical firms calculate soil’s optimum moisture content by performing proctor tests. These tests reveal soil’s maximum dry density and the water content at which you can most successfully compact it.
Once you’re on the jobsite, you’ll need to perform hand tests on your soil throughout the construction process to make sure it maintains the proper moisture content at all times, giving you the possible results.


No Comments Yet
Let us know what you think